

To power off the Ubiquiti Unifi Dream Machine Special Edition (DMSE) use the front panel: Settings > Device Control > Shutdown Restart is another option
Note – use computer not mobile, IOS is resampling and seems to fix image problem.
For some reason the TV would flicker periodically as if unable to resynchronize to different video signals. This would happen at the end of a Netflix movie. After months of fiddling it turned out that a setting required for Dolby Vision got turned off perhaps during a firmware upgrade (who knows how). The setting is required to make the Sony and Apple TV work is on the Sony the following setting must be set: Settings : Watching TV > external […]
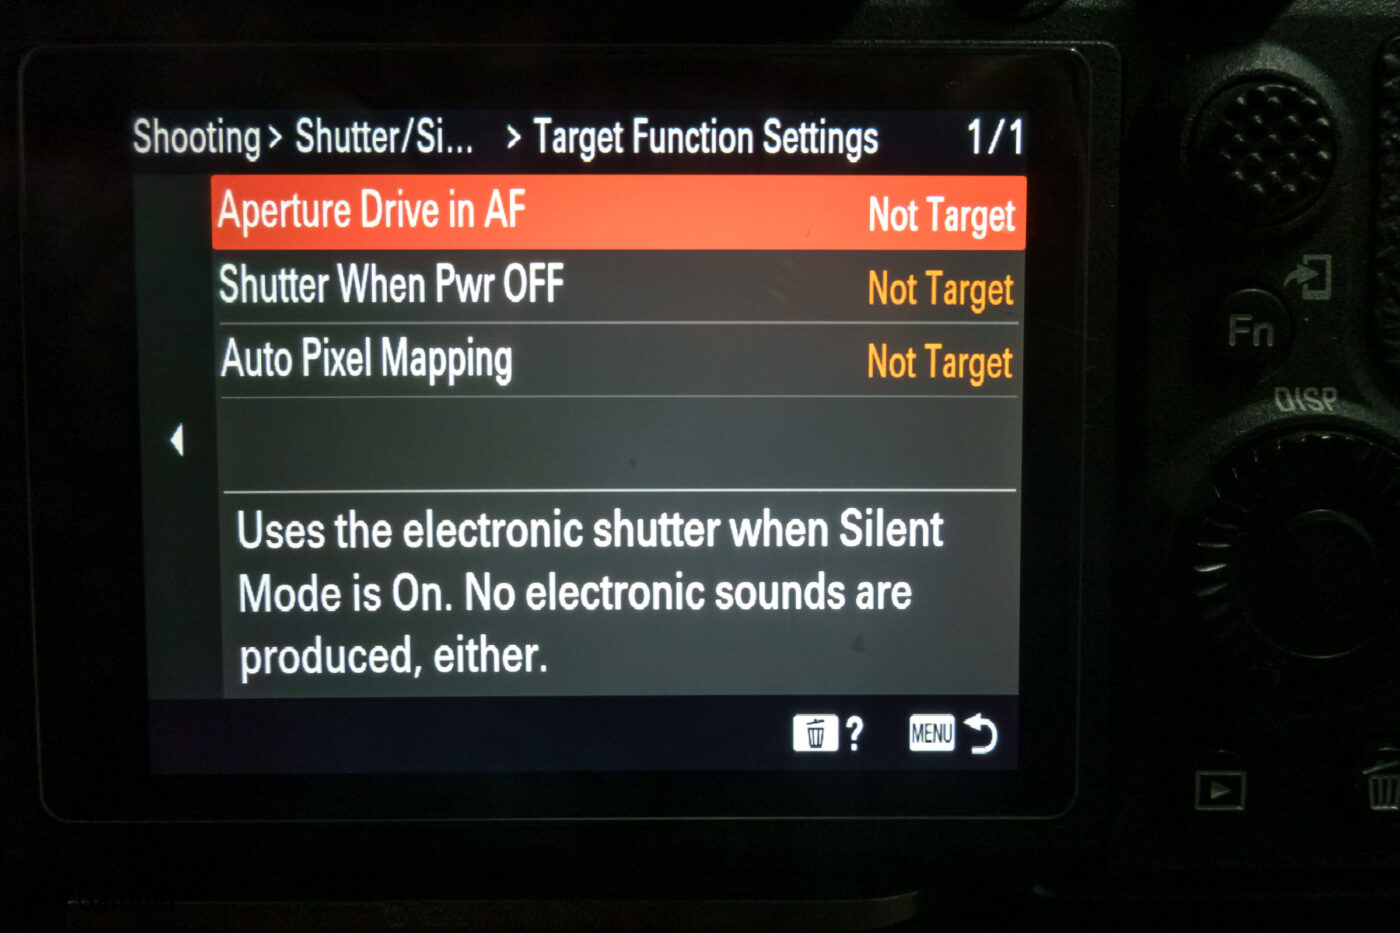
Sony uses Silent Mode to change several features of the body using “Silent Mode” on or off. It is likely however that you may want most of the camera to be silent without turning off a few features that are critical yet make just a bit of noise occasionally. On the Shooting tab for Shutter/Silent – Silent Mode Settings which Sony uses to batch several settings together to make the camera silent or not. Sony states in their manual […]
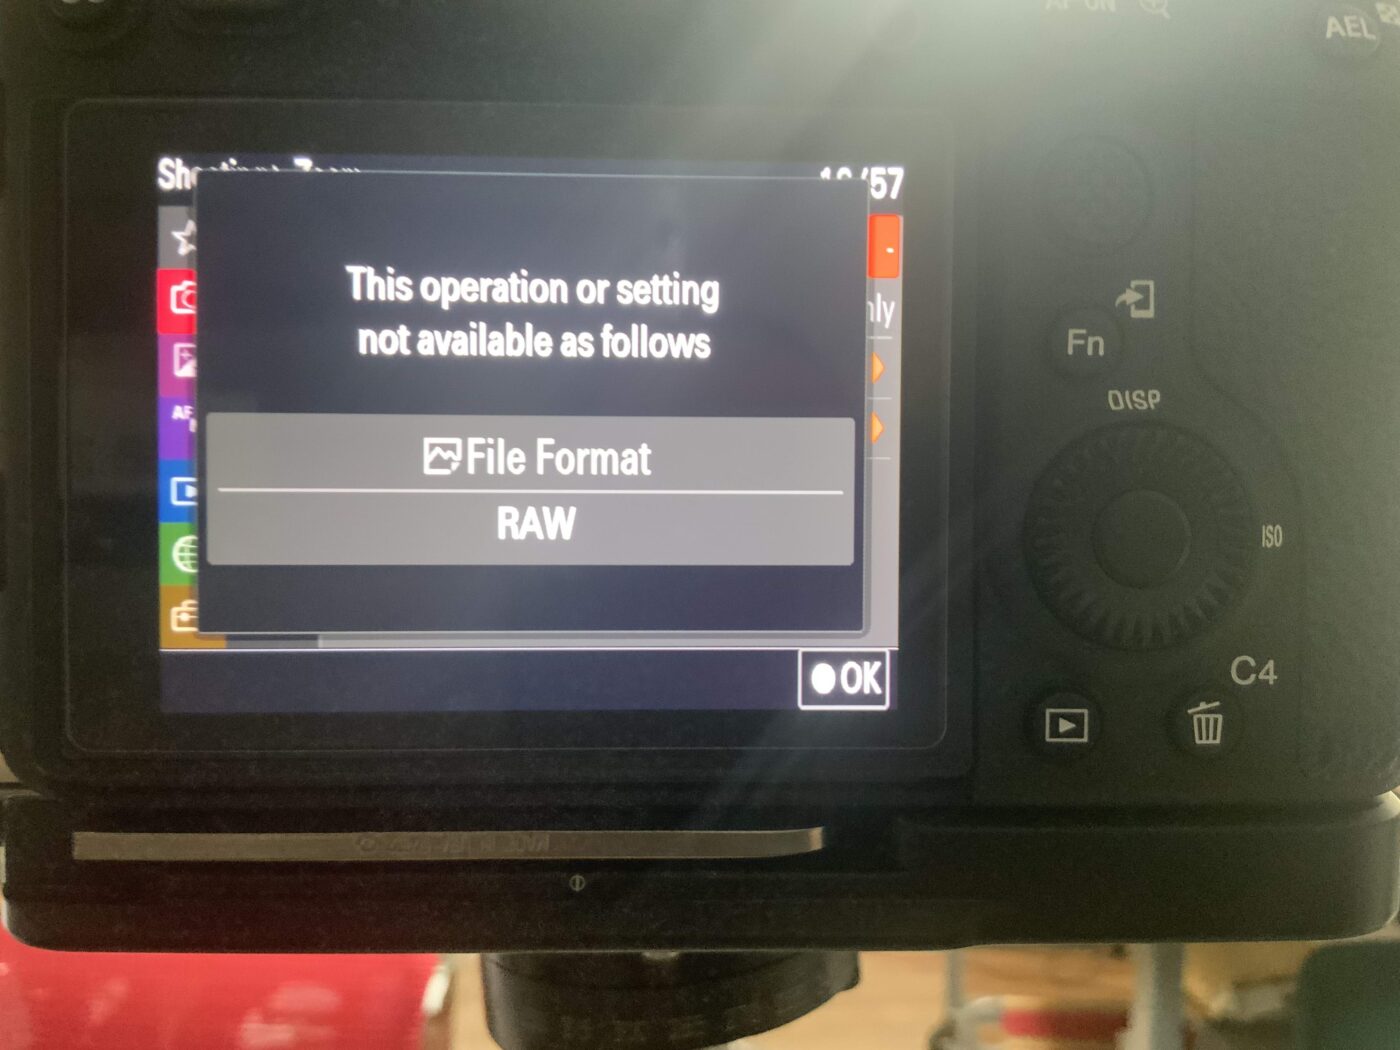
Sony’s Clear Image Zoom may be good with video but it’s useless for professional ‘stills’ use as it does not support RAW. I did give it a try with some bird photography in low light and the results were unusable as noise reduction was not feasible as in the following shot. Yes the image fills the frame (uncropped) but the detail is very poor and the noise too high.: Much better to use Pixel Doubling technology such as Adobe Photo […]
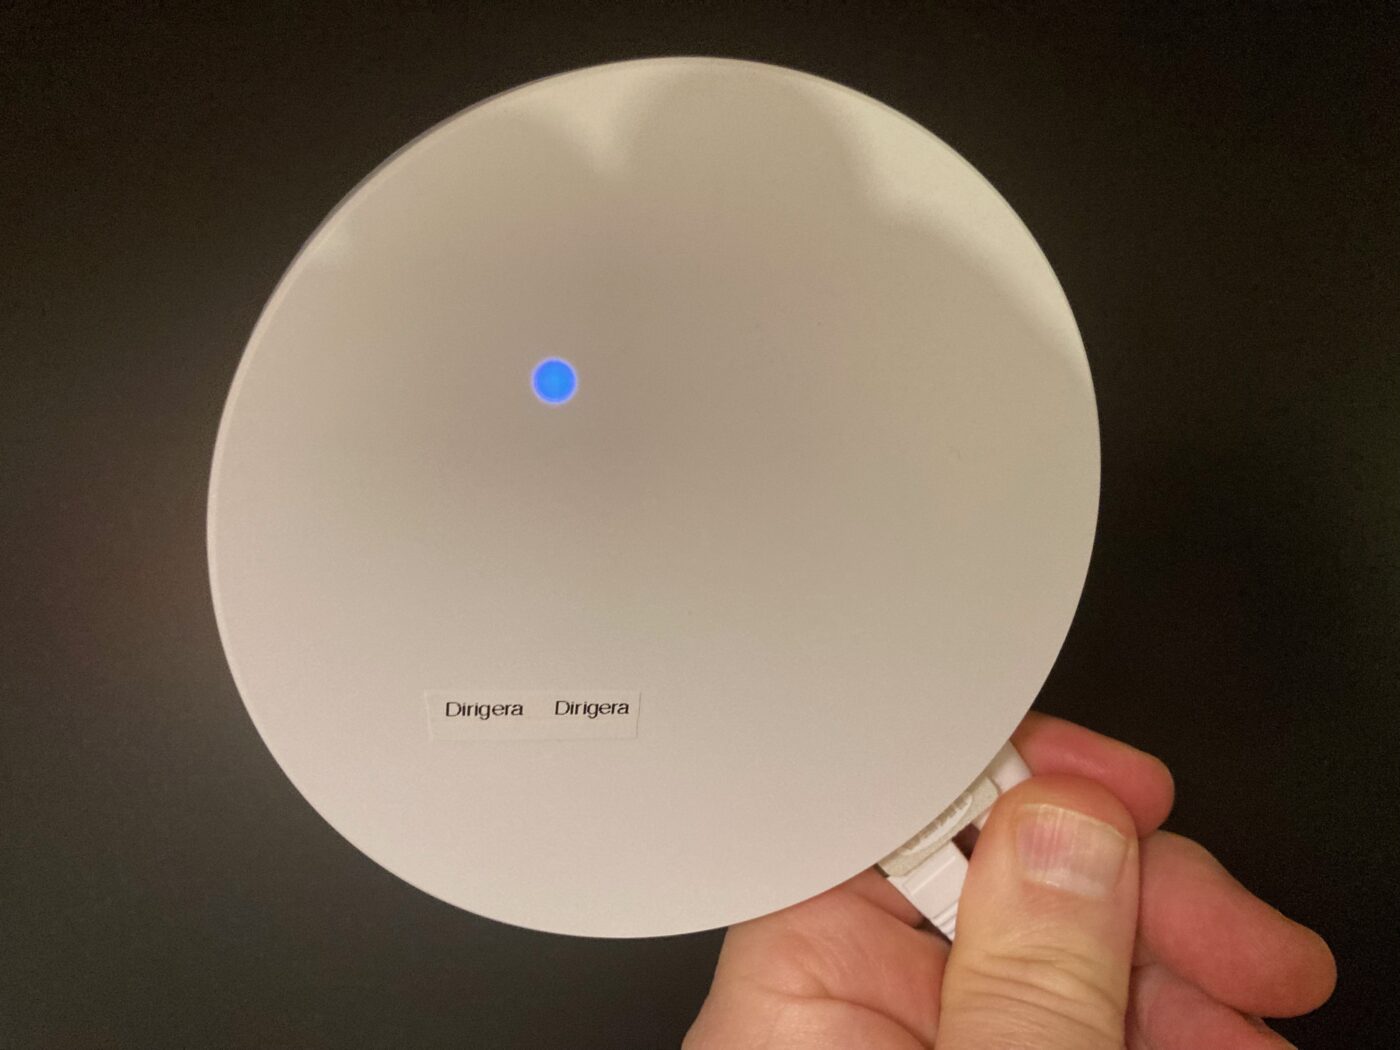
Thought it may be helpful to document my journey with the new Ikea Dirigera control which I purchased to replace my old Ikea TRADFRI Gateway . I use it to control the Ikea lights in my Ikea Kitchen. When we rebuilt the kitchen the Tradfri gateway connected to Apple Home but over time this stopped working. In case your wondering, I needed the Ikea lights to work remotely as the light switches in my kitchen are poorly placed and rewiring […]
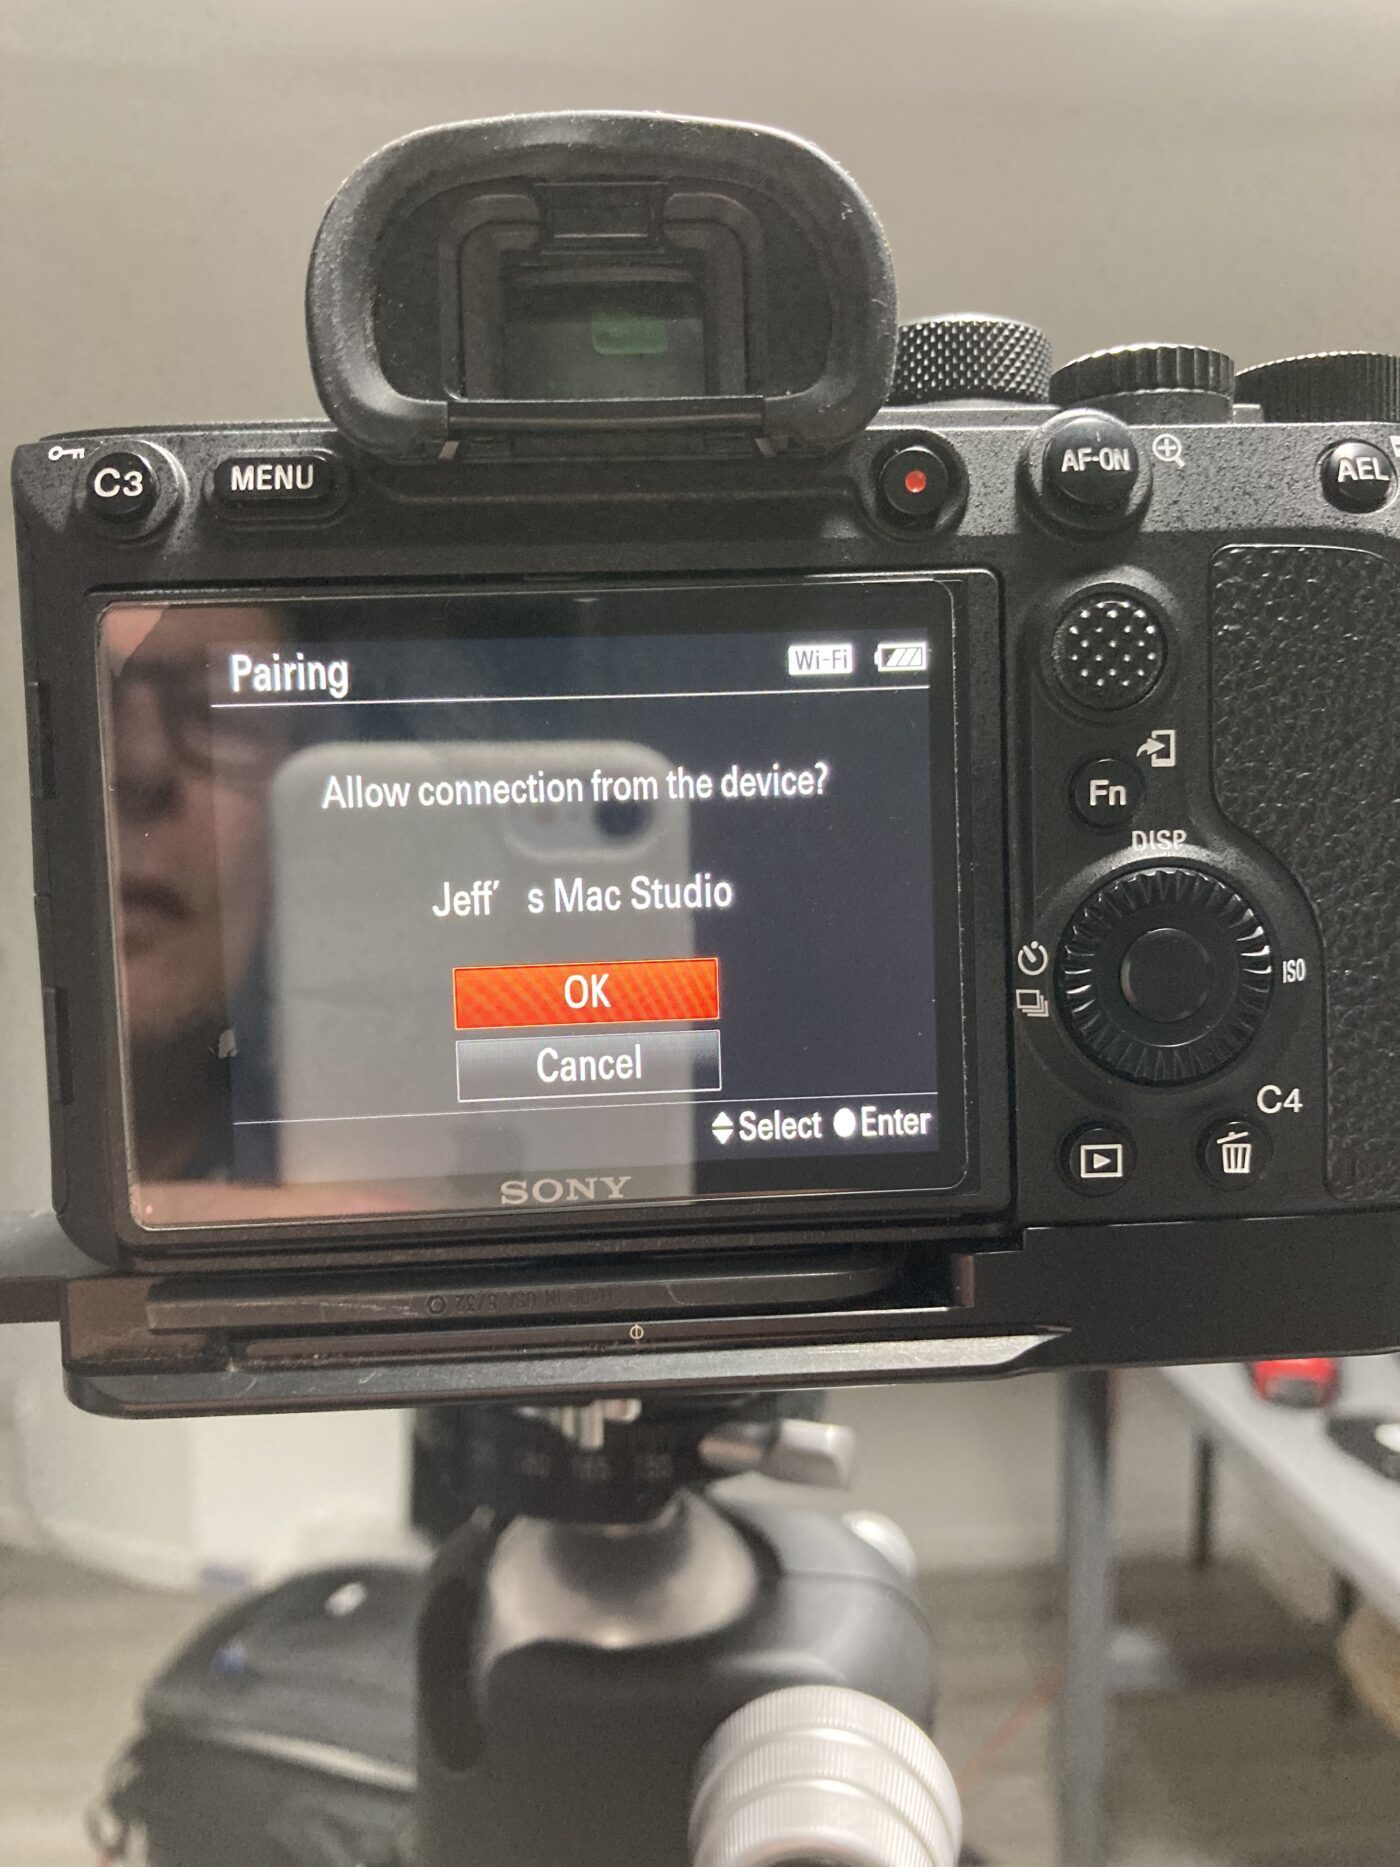
This article explains how to tether a Sony camera to a computer using WIFI. I have tested this with both a A1 and A7RIV. Sony cameras can send images to a computer and optionally be controlled (tethered) via USB, Ethernet LAN cable (some models) and WIFI. FTP and Cell phone is also supported but not covered by this article. As WIFI is generally fast and there is no cable to get in the way, I have decided to WIFI is […]

The following set of still images were shot on a Sony A1 at 20fps. Images that were out of focus were dropped prior to making the clip. Some things I did right: Sony A1 Ver 1.30 firmware (Eye AF was subsequently improved when I returned from Point Pelee) AutoISO – most shots at ISO 10,000 Shutter Speed: 1/8000 Sony 200-600 + 1.4TC Aperture: f9.0 wide open AWB 20fps high speed DxoPureRaw 2 noise reduction Lessons Learned: Turn off Crop Mode […]

Many photographers seem to struggle to obtain sharp images with long lenses. Take for example the Sony 200-600 with Teleconverter (TC). I have tested this lens with and without the 1.4 TC and it is remarkably sharp in both cases. Given its price point its a very popular purchase and the image quality is fantastic. Contrary to popular opinion, the 1.4TC appears to have NO NEGATIVE IMPACT on image quality. This is not a common senerio as in the […]